
How to Maintain Vinyl Fencing: A 2026 Guide
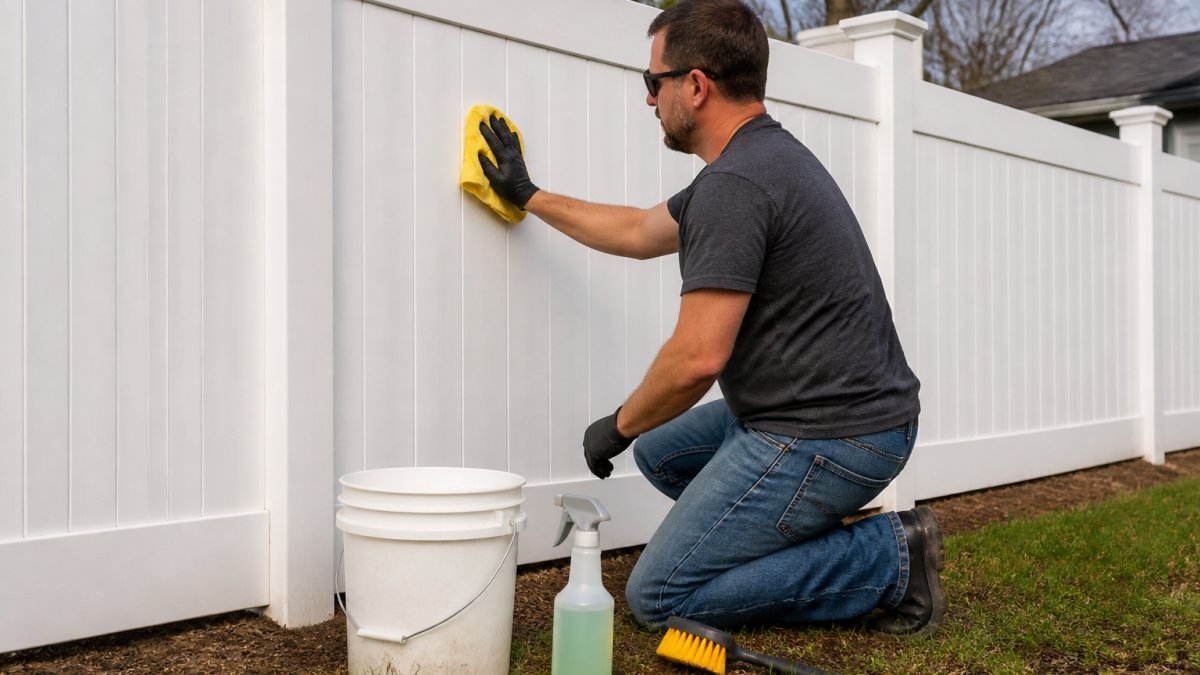
Table of Contents
- Why Vinyl Fencing Requires Minimal Maintenance
- What You'll Need: Tools and Cleaning Supplies
- How to Clean a Vinyl Fence Step by Step
- How to Remove Mildew from a Vinyl Fence
- Treating Tough Stains and Scuff Marks
- How Often to Clean a Vinyl Fence
- How to Repair a Loose Vinyl Fence Post
- Inspection, Prevention, and Seasonal Care
- Frequently Asked Questions
Last Updated: October 17, 2026
Why Vinyl Fencing Requires Minimal Maintenance
Vinyl fencing stands out because it doesn't rot, splinter, or need paint like wood does, making it easier to maintain vinyl fencing long-term. A vinyl fence can last 20-30 years with basic care, while wood fences often need replacement or major repairs within 15 years.
The reason is simple: vinyl doesn't absorb water. Wood swells, cracks, and decays when exposed to moisture. Vinyl stays stable through rain, snow, and humidity changes. This stability means you're not fighting nature every season.
That said, vinyl fencing still needs attention. Dirt, mildew, and algae will accumulate over time. Scuff marks and stains can appear from weather exposure and yard activity. The good news is that cleaning a vinyl fence takes hours, not weeks, and requires only basic household supplies.
What You'll Need: Tools and Cleaning Supplies
Cleaning vinyl fencing doesn't require expensive equipment. Most homeowners already have these items on hand.
Essential tools:
- Soft-bristle brush (NOT wire or steel wool)
- Soft sponge or cloth
- Garden hose with spray nozzle
- Bucket for mixing solutions
- Soft mop or long-handled brush for reaching high areas
Cleaning solutions:
- Dish soap and warm water (the most common choice)
- Baking soda for stubborn stains
- Non-toxic, mild detergent mixed with water
- White vinegar for mildew (optional, but effective)
The key rule: avoid abrasive cleaners, harsh chemicals, and steel wool. These damage vinyl by scratching the surface and can cause permanent discoloration. Stick to gentle, non-abrasive options and you'll protect your fence investment.
How to Clean a Vinyl Fence Step by Step
A vinyl fence cleaning takes 2-4 hours depending on fence size. Start early in the day so you have time to rinse thoroughly before evening.
Removing Dirt, Dust, and Debris
Begin by removing loose dirt and debris from the fence surface. Use a soft-bristle brush to gently sweep away dust, leaves, and cobwebs. Work from top to bottom so debris falls away from cleaned areas.
Pay attention to the fence posts and rails where dirt accumulates most. These areas trap moisture and can develop mildew quickly if not cleaned regularly. A soft cloth works well for wiping panels after brushing.
This first step takes 15-30 minutes for a standard backyard fence. Don't skip it, removing loose debris prevents mud from forming when you add water.
Washing with Dish Soap and Warm Water
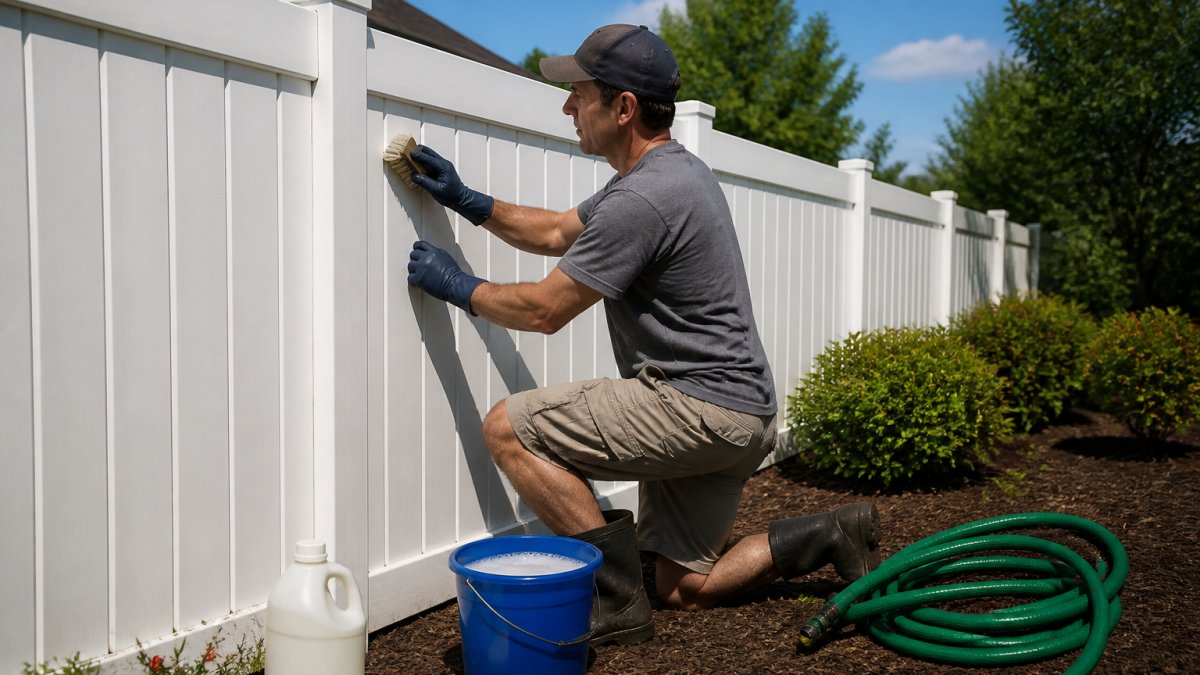
Mix one cup of dish soap with one gallon of warm water in your bucket. This solution is safe for vinyl and cuts through accumulated grime without damaging the material.
Dip your soft-bristle brush or sponge into the solution and scrub the fence in circular motions. Work section by section, starting at the top and moving down.
For stubborn dirt spots, let the soapy water sit on the surface for 5-10 minutes before scrubbing. This softens buildup and makes cleaning easier.
This washing phase typically takes 1-2 hours depending on fence length and dirt levels. The soap-and-water method handles most routine cleaning needs.
Rinsing with a Garden Hose
Once you've scrubbed a section, rinse it thoroughly with a garden hose. Use a gentle spray setting, not a hard jet stream. Start at the top and let water flow downward so dirty water runs off the fence.
Rinse until all soap residue is gone. Soap left on the surface can attract dirt and leave streaks as it dries. A second pass with clean water ensures complete rinsing.
Check your work as you go. If you spot areas that still look dirty, scrub and rinse again before moving on. Catching missed spots now prevents extra work later.
Allow the fence to air dry completely before assessing your work. Wet vinyl looks darker than dry vinyl, so you may think you missed spots when you actually finished well.
How to Remove Mildew from a Vinyl Fence
Mildew appears as dark spots or streaks, usually on shaded fence sections that stay damp longer. It's common in humid climates and areas with poor air circulation.
For light mildew, the dish soap solution works fine. Scrub affected areas thoroughly and rinse well. The combination of soap and water removes most surface mildew.
For stubborn mildew, mix one part white vinegar with three parts water. Apply this solution to affected areas and let it sit for 10-15 minutes. The acidity in vinegar breaks down mildew growth. Scrub gently with a soft brush and rinse completely.
Baking soda also works for mildew. Mix baking soda with water to form a paste, apply to mildew spots, let sit for 15 minutes, then scrub and rinse. This non-toxic approach is safe for yards with pets and children.
Treating Tough Stains and Scuff Marks
Vinyl fences can develop stains from rust, tree sap, algae, or graffiti. Different stains need different approaches.
For rust stains: Mix baking soda with a small amount of water to form a thick paste.
For tree sap or adhesive: Apply rubbing alcohol to a soft cloth and gently rub the affected area. Don't use excessive pressure. Alcohol breaks down sticky residue without damaging vinyl. Rinse with water after treatment.
For algae or green discoloration: Use the vinegar solution mentioned above. Algae thrives in damp conditions, so improving drainage around the fence also prevents future growth.
For graffiti or permanent marker: Test a small hidden area first, then use a magic eraser sponge with gentle pressure. These sponges remove marks without harsh chemicals, though they require more elbow grease than chemical solutions.
Pressure Washing: Safe Settings and Technique
Pressure washers can clean vinyl fences quickly, but improper use causes serious damage. If you choose this method, follow strict guidelines.
Safe pressure washer settings:
- Maximum 1500 PSI (pounds per square inch)
- Maintain 12-18 inches distance from fence surface
- Use a 40-degree spray pattern, never 0-degree
- Keep the nozzle moving constantly, never hold it in one spot
Start at low pressure and test on a hidden fence section first. If water sprays behind panels or causes surface damage, stop immediately and switch to hand cleaning.
Pressure washing takes 30-45 minutes for a standard fence, compared to 2-4 hours for hand cleaning. The speed advantage isn't worth risking panel damage, cracked seals, or water intrusion.
Baking Soda and Non-Toxic Cleaners
Baking soda is the safest option for families with young children and pets. It's non-toxic, biodegradable, and effective on most stains.
For general cleaning, mix one-half cup baking soda with one gallon of warm water. This solution cleans without harsh fumes or chemical residue. Apply with a soft brush, let sit for 10 minutes, scrub gently, and rinse thoroughly.
For tough stains, increase baking soda to one cup per gallon. The thicker paste stays on the stain longer and penetrates better. This approach takes longer but avoids chemical exposure.
Commercial non-toxic vinyl fence cleaners are available and work well. These products are formulated specifically for vinyl and often include mildew inhibitors. Follow label directions and always rinse thoroughly after use.
How Often to Clean a Vinyl Fence
Most vinyl fences need cleaning every 12-24 months depending on climate and location. Fences in shaded areas or humid regions may need more frequent attention.
Annual inspection: Walk your fence line twice per year, spring and fall. Look for dirt buildup, mildew growth, and stains.
Climate factors: Coastal areas with salt spray need cleaning more often. Humid regions develop mildew faster.
Shaded vs. sunny: Shaded fence sections stay damp longer and develop mildew more quickly. Plan extra cleaning time for these areas.
After storms: Heavy rain and wind can deposit debris and dirt. A quick rinse and debris removal after major storms prevents long-term staining.
Most homeowners find that one thorough cleaning per year is all it takes to maintain vinyl fencing and keep it looking new.
How to Repair a Loose Vinyl Fence Post
Loose posts indicate a structural problem that needs attention. A wobbly fence post can lead to panel damage or complete fence failure if ignored.
Signs of a loose post:
- Fence rocks or sways when pushed
- Visible gaps between post and panels
- Posts lean slightly to one side
- Panels rattle in strong wind
Check posts by pushing firmly on the fence. If it moves more than a quarter-inch, the post likely needs tightening.
For posts set in concrete: Concrete can crack or settle over time, loosening posts.
If concrete has cracked significantly or posts are severely loose, the post may need resetting.
For posts set in ground: Some vinyl fences use posts driven into the ground without concrete. These can loosen from frost heave or settling.
Loose posts are a safety issue and a sign of potential fence damage. Delaying repairs can lead to panel cracking or post failure.
Inspection, Prevention, and Seasonal Care
Regular inspection prevents small problems from becoming expensive repairs. Walk your fence line quarterly and look for these issues:
What to check:
- Loose or cracked panels
- Damaged posts or rails
- Gaps between panels expanding
- Water pooling near fence base
- Vegetation growing against fence
- Hardware rust or corrosion
Prevention strategies:
- Keep landscaping trimmed back from fence
- Ensure proper drainage away from fence base
- Clear gutters so water doesn't run onto fence
- Remove leaves and debris regularly
- Maintain 2-3 feet clearance on both sides
Seasonal maintenance:
- Spring: Inspect for winter damage, clean accumulated debris, check post stability
- Summer: Watch for algae growth in humid conditions, trim vegetation
- Fall: Clear fallen leaves, prepare for winter moisture
- Winter: Monitor for ice damage, ensure drainage isn't blocked by snow
Vinyl fencing requires far less seasonal work than wood, but these basic steps extend fence life significantly. Most homeowners spend 2-4 hours per year on maintenance and inspection combined.
Vinyl fencing offers genuine low-maintenance benefits, but it still needs regular attention to look good and last decades. A simple cleaning schedule and quarterly inspection catch problems early before they require expensive repairs. Get a quote today to discuss your fencing needs and learn how quality installation sets the foundation for easy, long-term maintenance.
Frequently Asked Questions
How often should you clean a vinyl fence?
Most vinyl fences need cleaning every 12 to 24 months, depending on weather exposure, dust, and debris in your area. Homes near trees or in humid climates may need more frequent cleaning. A simple rinse with a garden hose once or twice a year helps prevent buildup. If you notice visible dirt, mold, or mildew, clean immediately rather than waiting for a scheduled time.
Can you use a pressure washer on a vinyl fence?
Yes, but only with caution. Use a pressure washer set to 1500 PSI or lower and keep the nozzle at least 12 inches away from the fence surface. High pressure can damage vinyl panels or force water behind the fence. A soft-bristle brush and mild detergent are safer for routine cleaning. Reserve pressure washing for tough stains only, and always test on a hidden section first.
How do you remove mildew from a vinyl fence?
Mix equal parts white vinegar and water in a spray bottle and apply to affected areas. Let it sit for 10 to 15 minutes, then scrub gently with a soft cloth or soft-bristle brush. For stubborn mildew, use a non-toxic cleaner or a paste of baking soda and water. Rinse thoroughly with a garden hose. Prevent mildew by trimming nearby vegetation to improve air circulation and reduce shade and moisture.
How do you fix a loose vinyl fence post?
Check the concrete footing around the post first. If the post is shifting, you may need to add concrete mix around the base or tighten any bolts connecting the post to the fence rails. For minor movement, tighten all hardware. If the concrete is cracked or the post is severely loose, contact a professional fence contractor. A properly installed post should not move when pushed.