
How to Prevent Leaning Fence Posts: A DIY Guide
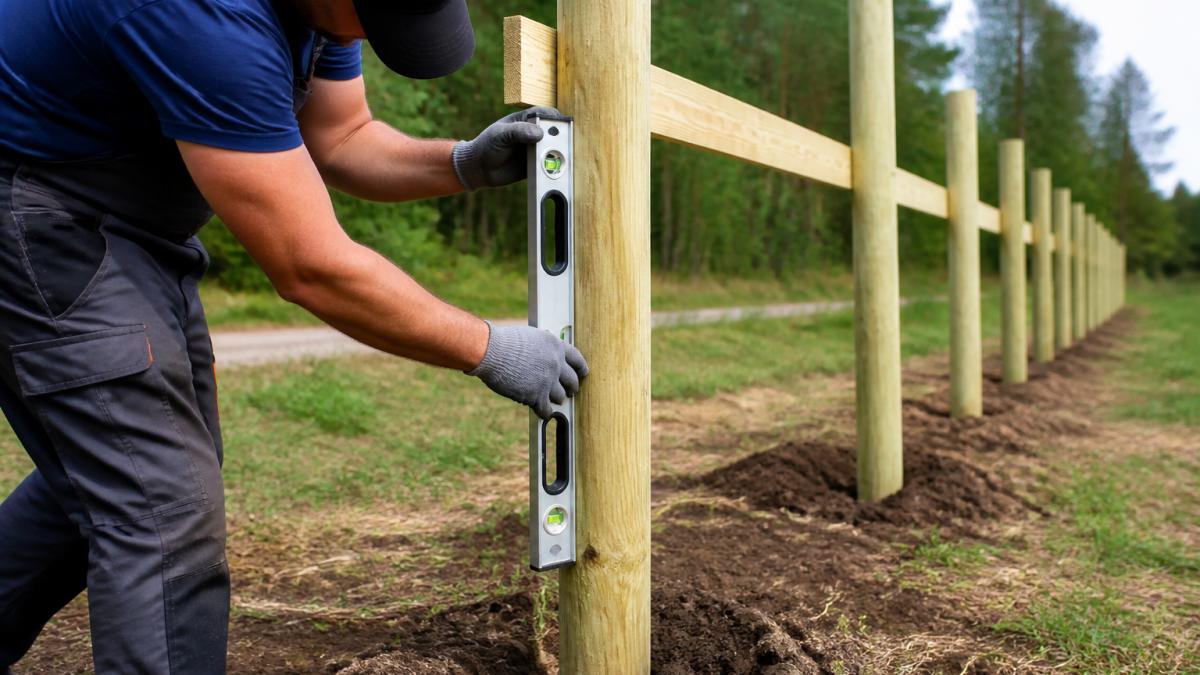
Table of Contents
- Why Fence Posts Lean and How to Stop It
- How Deep to Set Fence Posts for Maximum Stability
- Preparing the Ground: Drainage and Soil Conditions
- How to Brace Fence Posts During and After Installation
- How to Fix a Leaning Fence Post Without Concrete
- How to Straighten a Leaning Fence Post Properly
- Tools, Materials, and Safety Checks You'll Need
- Long-Term Maintenance and Inspection
- Frequently Asked Questions
Last Updated: October 7, 2026
Why Fence Posts Lean and How to Stop It
A leaning fence post usually signals one of three problems: soil movement, frost heave, or poor drainage, all issues you can prevent leaning fence posts by addressing during installation.
Soil movement happens when the ground shifts beneath the post's footing. This occurs in clay soils that expand when wet and contract when dry.
The good news: you can prevent leaning fence posts by addressing all three issues through proper installation and maintenance.
Common causes: soil movement, frost heave, and poor drainage
Soil movement is the most common culprit in areas with clay or loamy soil. When soil absorbs water, it expands. When it dries, it shrinks.
Frost heave happens in cold climates. Water in the soil freezes and expands, pushing the post upward and sideways. When the ice melts, the post doesn't settle back into its original position.
Poor drainage accelerates both issues. Water pooling around the base of a post weakens the concrete footing and saturates the soil. Wet soil is unstable soil.
How Deep to Set Fence Posts for Maximum Stability
The depth of a fence post determines how much it can resist tilting. A post that's too shallow will lean.
The standard rule is simple: bury one-third of the post's height underground. A 6-foot post gets 2 feet in the ground. A 5-foot post gets about 1.67 feet.
Why one-third? Posts experience the most stress at ground level, where soil pressure and frost action are strongest. Deeper burial spreads that stress over more soil, reducing the chance of tilting.
The one-third rule and why it matters
Burying one-third of the post height works because it balances two competing needs. You need enough depth to anchor the post securely, but not so much that you're wasting material or digging unnecessarily deep.
In practice, one-third means:
- 4-foot posts: 16 inches deep
- 5-foot posts: 20 inches deep
- 6-foot posts: 24 inches deep
- 8-foot posts: 32 inches deep
This assumes solid ground and typical soil conditions. Adjust for your specific situation.
Adjusting depth for your soil type and climate
Some soils and climates demand deeper burial. Clay soils, which expand and contract significantly, benefit from posts set 3 to 4 inches deeper than the one-third rule suggests.
In regions with severe frost heave, go deeper. Posts in cold climates should be set 30 to 36 inches deep, even if the one-third rule would suggest less.
Wet climates with poor natural drainage also warrant deeper posts. Extra depth ensures the footing sits below standing water and seasonal saturation.
Preparing the Ground: Drainage and Soil Conditions
Before you install a fence, assess the ground. Wet soil, clay, and poor drainage are red flags. Fix these problems first, or your posts will lean regardless of how deep you set them.
Walk your property after heavy rain. Where does water collect? If it pools around where fence posts will go, you have a drainage problem. Water that sits for days weakens soil and rots wooden posts.
Assessing your soil and identifying drainage problems
Dig a test hole about 12 inches deep in your fence line. Fill it with water. If the water drains within a few hours, your soil drains reasonably well. If it sits for a day or more, drainage is poor.
Clay soil feels sticky when wet and hard when dry. It holds water and expands. Sandy soil feels gritty and drains quickly. Loamy soil, a mix of sand, silt, and clay, is ideal. It drains adequately but holds enough moisture to stay stable.
Poor drainage signs:
- Water pooling after rain
- Soggy ground in spring
- Algae or moss growth in low spots
- Soil that stays muddy for days
Installing gravel bases and drainage solutions
A gravel base under the post footing improves drainage dramatically. Gravel allows water to move away from the post instead of pooling around it.
Dig your post hole to the proper depth. Add 4 to 6 inches of gravel to the bottom.
For problem areas with very poor drainage, add a perforated drainage pipe alongside the fence line.
Concrete footings also matter. Use concrete rated for your climate. In cold regions, use air-entrained concrete, which resists frost damage.
How to Brace Fence Posts During and After Installation
Bracing holds posts straight while the concrete sets and provides temporary support for posts that are already leaning. The right bracing method depends on whether you're installing a new fence or stabilizing an existing one.
Temporary bracing with 2-by-4 lumber and stakes
During installation, temporary bracing keeps posts vertical. Use 2-by-4 lumber cut to length and angled from the post to the ground.
Drive stakes into the ground at the end of the brace. Nail the brace to the stake. Check the post with a level in two directions (front-to-back and side-to-side) to ensure it's plumb.
Leave bracing in place until the concrete fully cures. For concrete, that's typically 48 to 72 hours in warm weather. In cold weather, wait longer.
Diagonal bracing for long-term reinforcement
If a fence section is already leaning or you're installing in challenging soil, diagonal bracing provides long-term support. This is more permanent than temporary bracing.
Install diagonal 2-by-4 braces from the top of the post down to a stake driven deep into the ground. The angle should be about 45 degrees.
Use galvanized bolts and hardware to secure the brace. Wood-to-wood connections should use galvanized bolts, not just nails. Nails can pull loose over time as the wood weathers.
How to Fix a Leaning Fence Post Without Concrete
Not every leaning post needs concrete. If the footing is still sound and the soil is stable, you can straighten the post and reinforce it with stakes and bracing.
This approach works best for posts that have leaned gradually and aren't severely tilted. If the post is bent or the footing is crumbling, replacement is the better choice.
Assessing whether repair or replacement is the better choice
Inspect the post closely. Look for cracks, splits, or signs of rot. Check the footing by digging around the base.
If the post itself is sound and the footing is intact, repair is worth trying. Straightening a post and bracing it takes a few hours and costs less than replacement.
If the post is wooden and has been leaning for years, check for rot. Press a screwdriver into the wood near ground level. If it sinks easily, rot is present.
Using stakes and angled lumber to stabilize the post
To straighten a leaning post without removing it:
- Drive stakes deep into the ground on the side opposite the lean. Space them 2 to 3 feet apart.
- Attach angled 2-by-4 braces from the post to each stake. Use galvanized bolts.
- Tighten the braces gradually over several days. Do not force the post straight in one pull, this can crack the wood or damage the footing.
- Once the post is plumb, add a second set of braces on the other side for stability.
- Leave bracing in place for at least a season. Monitor the post during freeze-thaw cycles to ensure it stays plumb.
How to Straighten a Leaning Fence Post Properly
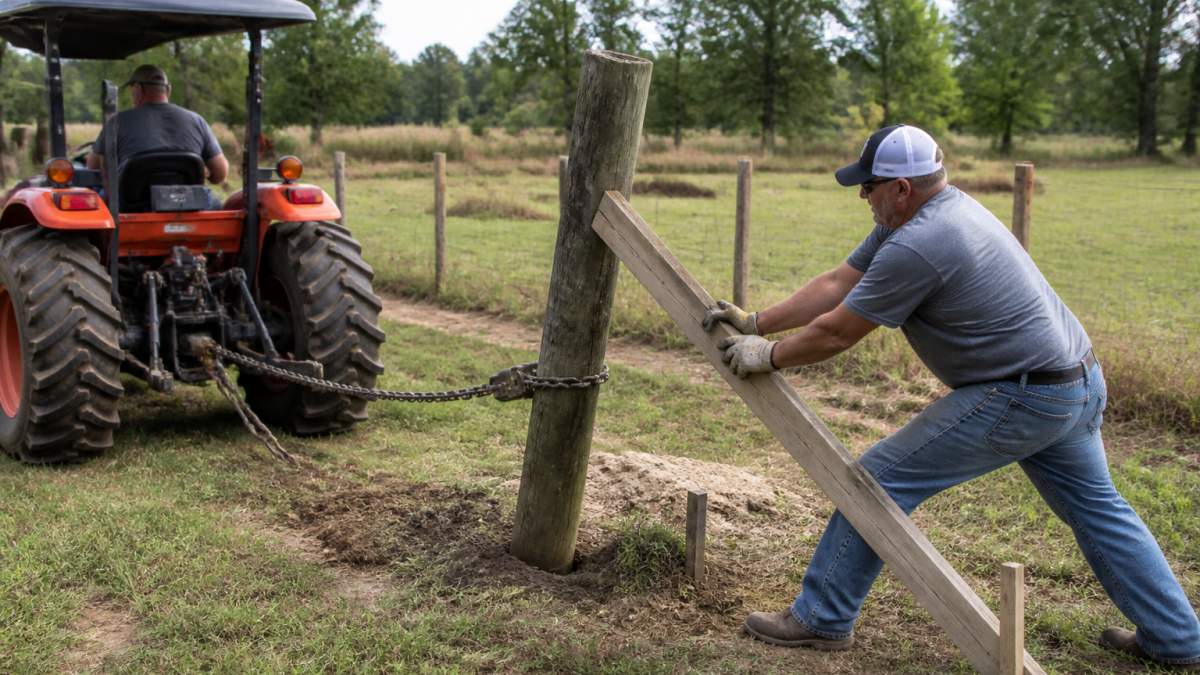
Straightening a fence post is a controlled process, not a sudden jerk. Forcing a post straight too quickly can crack the wood, damage the footing, or snap the braces.
Step-by-step straightening process
Step 1: Assess the lean. Use a level to measure how far the post is from vertical.
Step 2: Install temporary braces. Set up angled 2-by-4 braces on both sides of the post.
Step 3: Drive stakes. Pound stakes deep into the ground at the end of each brace.
Step 4: Tighten gradually. Use a come-along or hand-crank winch to tighten the braces.
Step 5: Check for plumb. After each adjustment, use a level to check the post in two directions.
Securing the post in its new position
After straightening, the post needs permanent support. Leave braces in place through at least one full season of freeze-thaw cycles. In cold climates, leave them year-round.
If the post continues to lean after straightening, the footing is compromised. This signals that replacement is necessary.
Monitor the post monthly. Check it with a level after heavy rain, freeze-thaw cycles, and seasonal changes. A post that stays plumb after a full season is likely stable.
Tools, Materials, and Safety Checks You'll Need
Straightening or preventing leaning fence posts requires specific tools and materials. Having the right equipment makes the job safer and more effective.
Essential tools and materials for prevention and repair
Tools:
- Level (4-foot is ideal for fence work)
- Post pounder or sledgehammer
- Shovel or post-hole digger
- Circular saw or hand saw
- Drill with bits
- Wrench set for bolts
- Come-along winch or hand-crank winch (for straightening)
- Tape measure
Materials:
- 2-by-4 lumber for braces and stakes
- Galvanized bolts, nuts, and washers (not nails for permanent connections)
- Gravel for drainage bases
- Concrete mix (air-entrained for cold climates)
- Wood sealant for cut ends
Safety considerations and when to call a professional
Straightening a fence post involves heavy equipment and forces that can cause injury. Wear work gloves and steel-toed boots. Keep bystanders away from the work area.
If the post is severely leaned (more than 6 inches at the top), the footing is crumbling, or the post is bent, call a professional. A professional can assess the damage and handle replacement or major repairs safely.
If you're uncomfortable using a winch or driving deep stakes, get help. This isn't a job to rush or improvise.
Long-Term Maintenance and Inspection
Preventing future leans is simpler than fixing them. Regular inspection catches problems early.
Walk your fence line twice a year, once in spring after frost heave season and once in fall.
If you notice a post starting to lean, address it immediately.
Keep gutters and drainage clear so water doesn't pool around fence posts.
Seal the tops of wooden posts to prevent water from soaking into the wood.
Fencementals installs fences built to last. Our team handles the technical details so your fence stays straight and secure. Get a Quote and let us show you how solid workmanship prevents problems before they start.
Frequently Asked Questions
What causes fence posts to lean in the first place?
Fence posts lean due to soil movement, frost heave (where freezing and thawing cycles push soil upward), poor drainage, and inadequate installation depth. Wooden posts can also rot at the footing, weakening the anchor. If your post was set shallower than one-third of its height below ground, it's at higher risk. Identifying the cause helps you choose the right repair or prevention method.
How deep should a fence post be set to prevent leaning?
The industry standard is to set a fence post one-third of its height below ground. For a 6-foot post, that's 2 feet deep; for an 8-foot post, about 2.5 feet. In areas with frost heave or poor drainage, go deeper. Set the post in solid concrete or a concrete-and-gravel mix to anchor it firmly and prevent soil movement from tilting it over time.
Can you stabilize a leaning fence post without replacing it?
Yes, if the post is structurally sound. Use angled 2-by-4 lumber and stakes to brace it back to vertical, then secure the bracing with bolts or lag screws. For temporary support, diagonal bracing works well. However, if the post is rotted, cracked, or the footing has failed, replacement is safer and more reliable. Check the post for damage before deciding to repair.
How long should you brace a fence post after installation?
Leave temporary bracing in place for at least 24-48 hours after setting the post in concrete, giving the concrete time to cure fully. For wooden posts in soil without concrete, keep bracing for 7-10 days. If you're using diagonal bracing for long-term reinforcement, it can stay in place indefinitely. Check bracing regularly to ensure bolts and fasteners remain tight.